Gone are the days of big heavy textbooks. And to be honest, I’m here for it! I love that my students can take more ownership of their learning by creating their own textbook through setting up interactive notebooks.
If you are just getting started with interactive notebooks, you might be feeling overwhelmed. Or maybe you have been using them for a few years now but you are always on the lookout for more interactive notebook ideas. Either way you are in the right place.
I am going to walk you through my process for interactive notebook setup. Hopefully you walk away with a few new ideas and feel less overwhelmed by the whole process.

Why Use Interactive Notebooks
I started using interactive notebooks years ago when I was actually teaching History. I fell in love with the idea of making history interactive for my students through notebooks. Not to mention, middle school students are not the most organized binder keepers out there.
My love for them grew even deeper when I started teaching Math. Interactive Math Notebooks, or IMN for short, are great for a few things.
- They help students stay organized because everything is in one place.
- They allow for creativity through the use of foldables.
- Students take more ownership of their learning because they are the creators of the notebooks.
- They don’t take up as much room as Binders and they are more cost-friendly. With that being said, please know that if you prefer a Binder you can absolutely do the same concepts in a binder.
Setting Up Interactive Notebooks: The Cover
My interactive notebook setup begins with the cover. There are so many options out there for the cover including not using a cover at all.
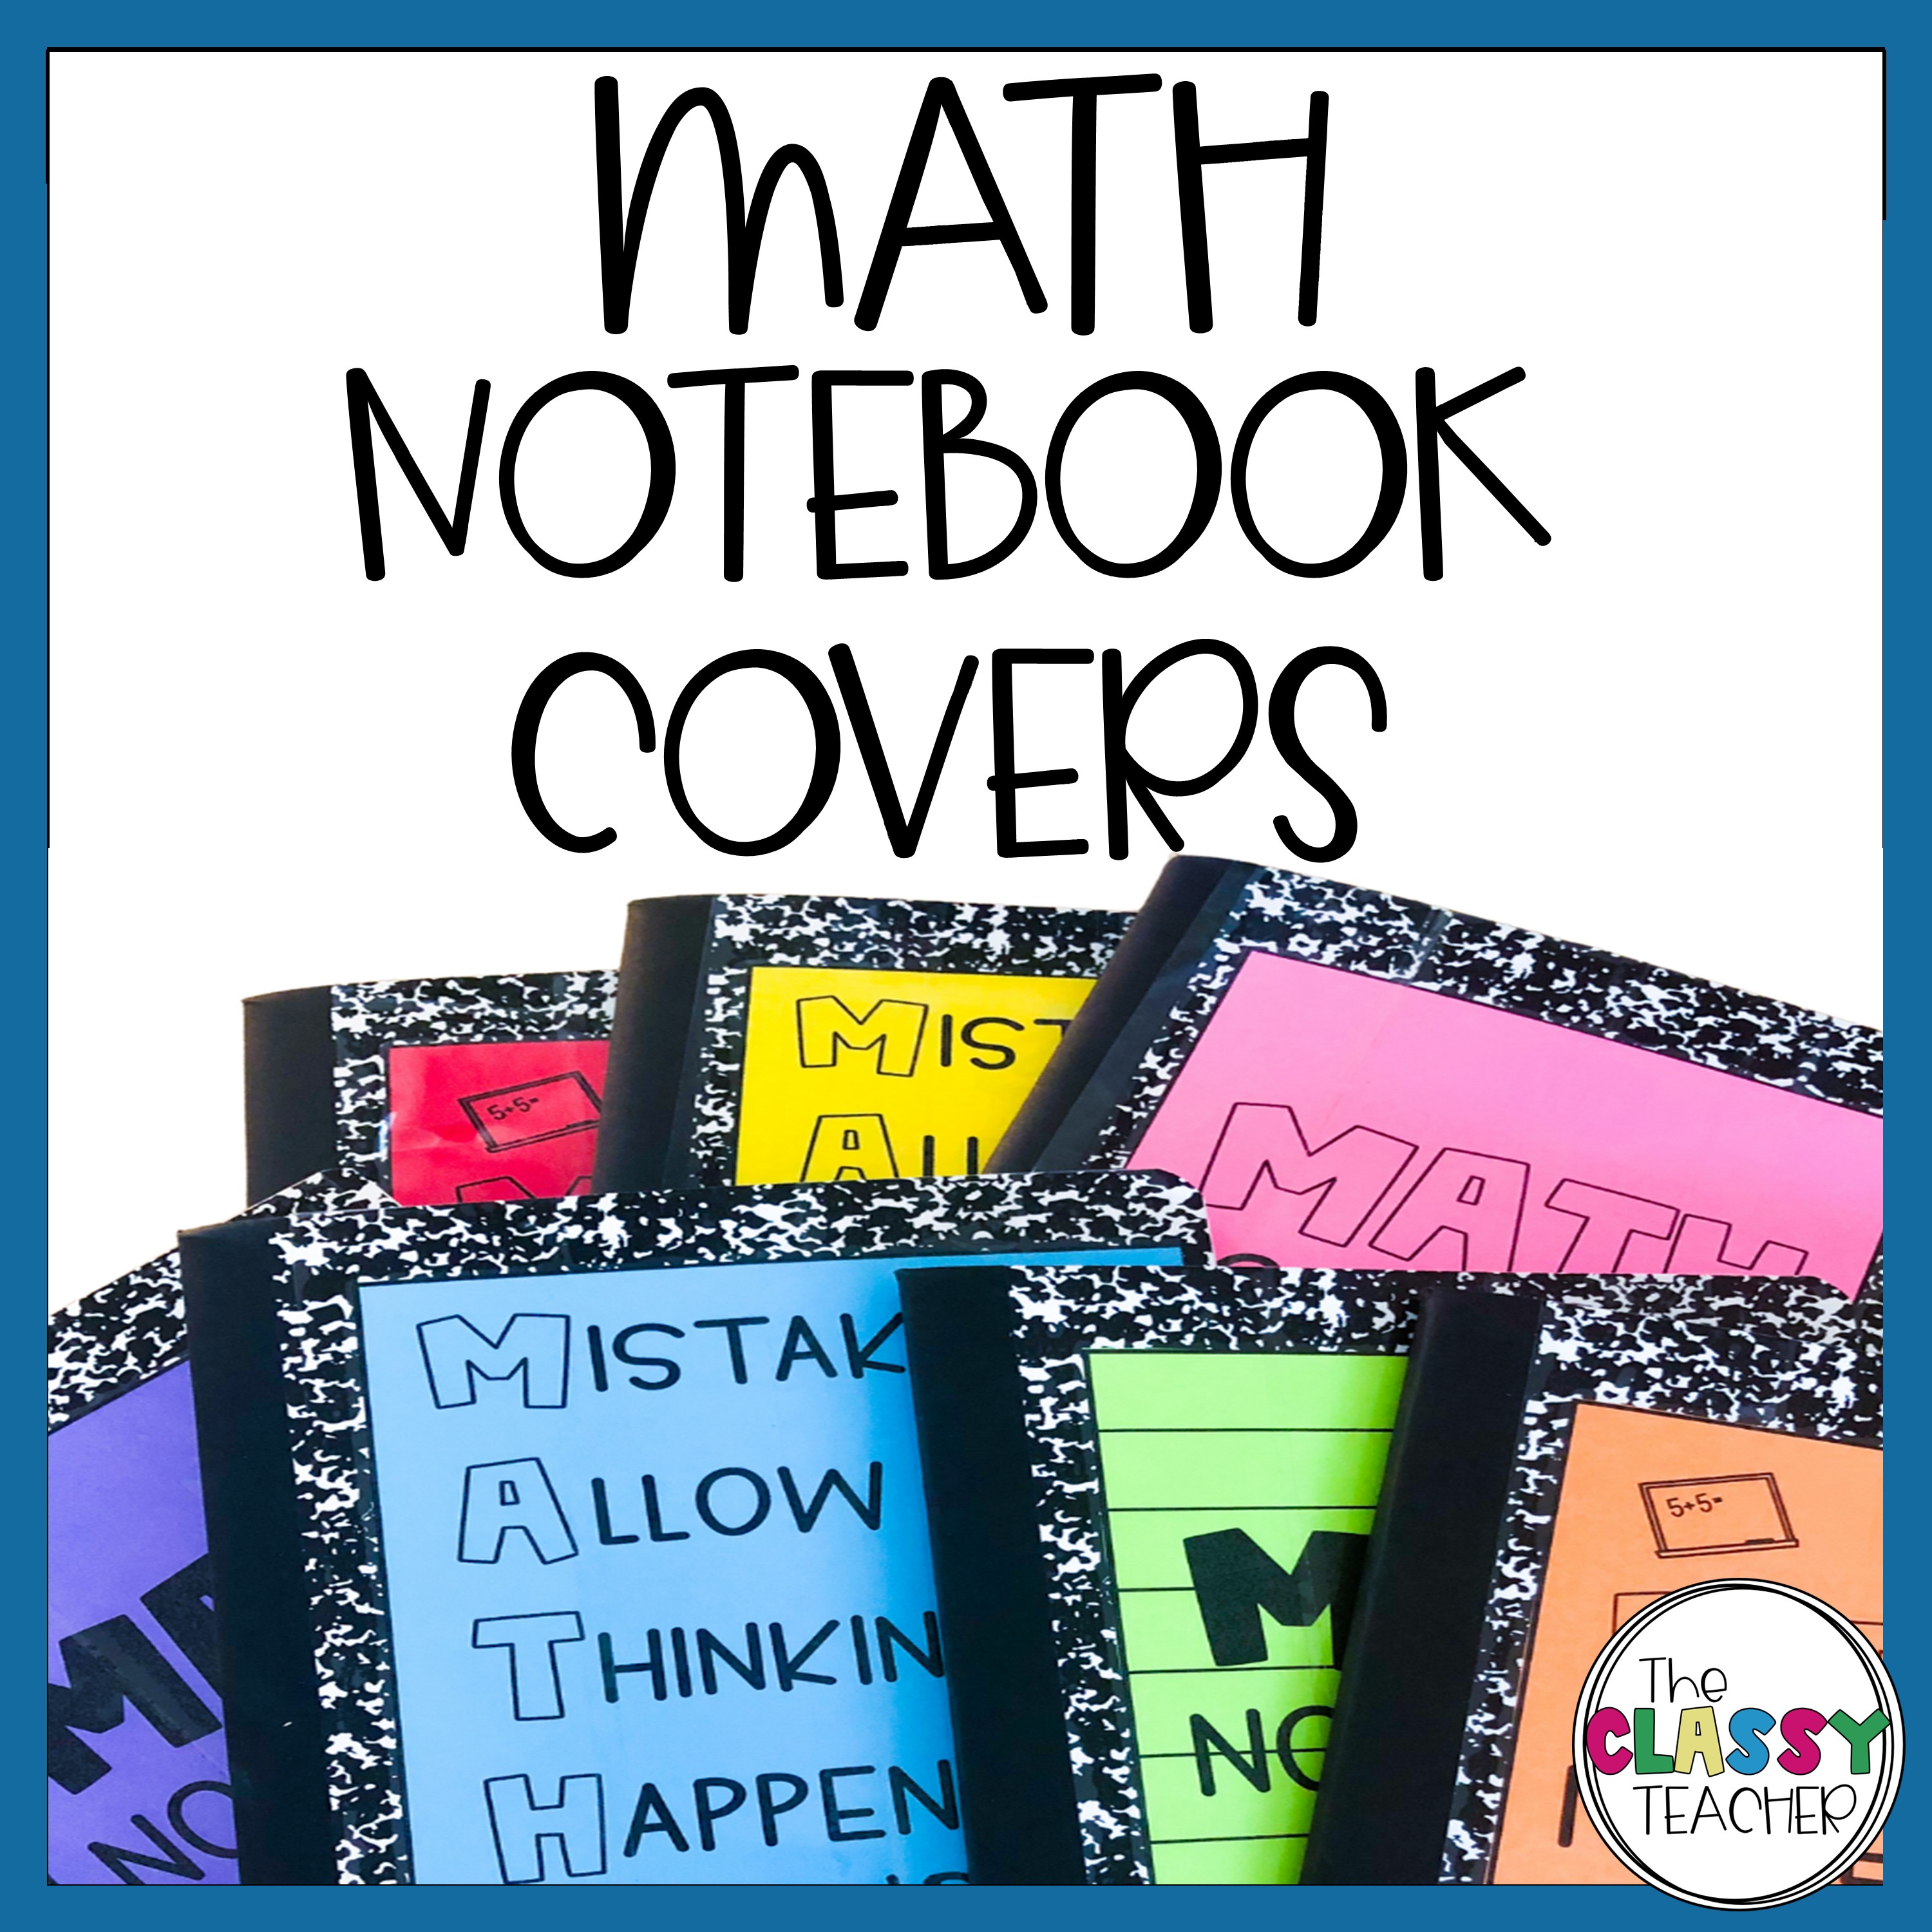
I use a cover because it helps me identify notebooks quicker and easier. Each class gets a different colored cover. For example, 1st period is purple, 2nd period is pink, 3rd period is orange and so on. I do this so that when a notebook is left behind in my classroom (because that will happen) I can quickly identify which class that notebook belongs to and return it to its bin.
I also have a few different cover options for students to pick from. This helps them identify their notebook a bit quicker. You can grab these covers for free here.

I print the covers on the different colored paper and have students write their name on them. Then while students are working on other things, I walk around the room and use clear packing tape to attach the cover to the front of the notebook. Three strips does it. You want to make them long enough that they fold over the top and stick to the inside cover. This helps the covers last all year.
Setting Up Interactive Notebooks: The Inside
The very first thing I have my students do is number their pages. To make it a little more engaging, I will play a song and tell my students they are to number as many pages as they can before the song ends. After that, they just number pages as they have time throughout the year.
The first few pages of the notebook are dedicated to reference materials my students will use all year long.
Page 1
Because I do a flipped classroom which is a new idea for my students, page 1 is dedicated to reminders of how to watch videos and take notes in the most effective way.

Page 2
Problem Solving Strategies and What to Do When I Need Help. These are great to refer back to all year long. You have to teach your students to use them though, otherwise they are just taking up valuable space in the notebook. I used the ones found here.
Page 3
Reference Booklet. This contains login information, concepts from the previous grade, and a place for my students to write any notes or reminders that they might need.

Page 4
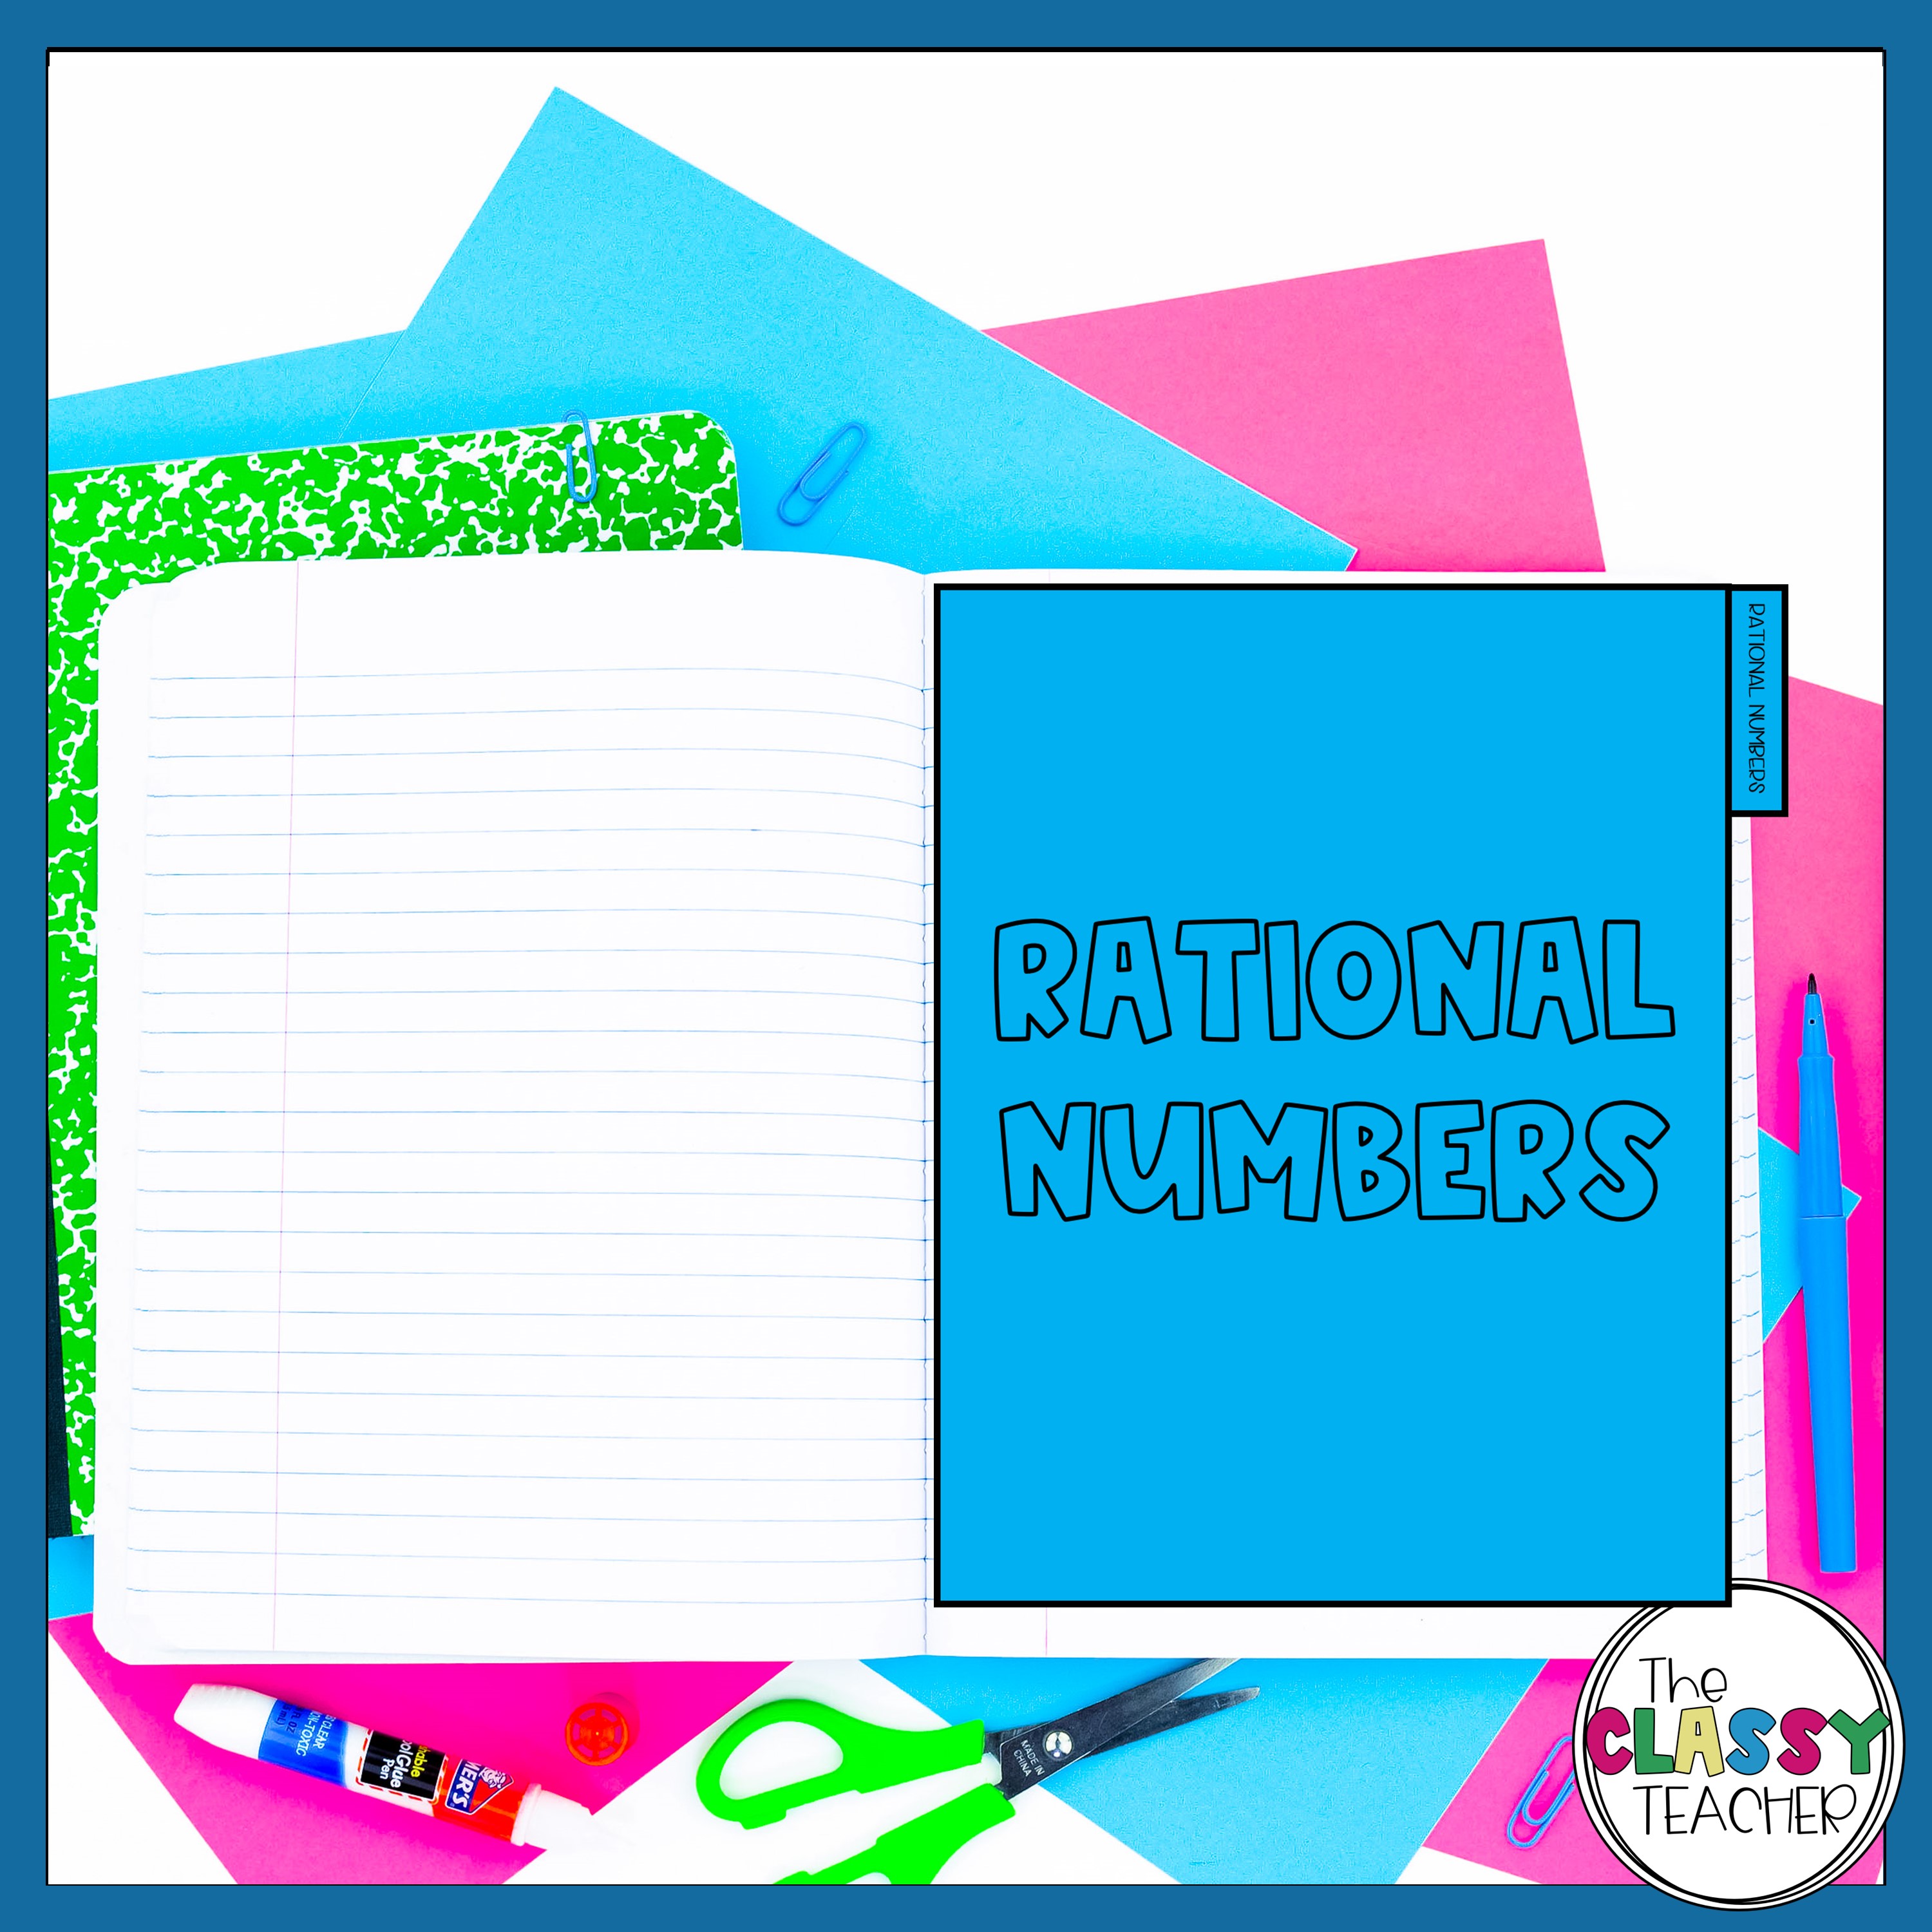
Unit Divider. I used to do these as a table of contents for that unit, but I found that I am not very good at keeping up with that so now it is just a divider printed on colored paper. I can tell my students to look behind the green tab or the blue tab.

This seems like a good time to remind you that there are no set interactive notebook rules. You have to find and do what works best for your classroom. It is a lot of trial and error.
Interactive Notebook Setup: The Notes
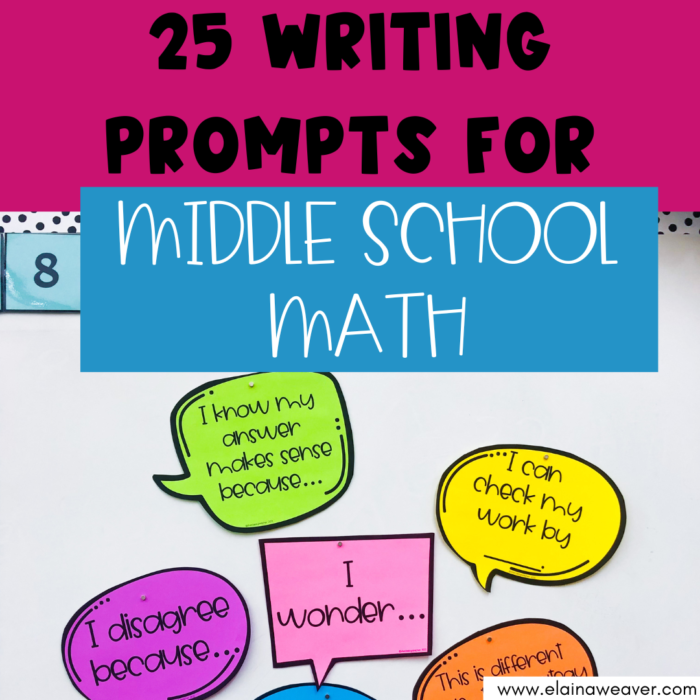
My set up is a bit different than others because as I mentioned before I do a flipped classroom (Read more about that here). My students have their guided notes on the left. They complete these while watching the video. On the right side next to the guided notes is a page for them to record any questions they have during the video as well as helpful notes or hints they feel they need. I help them respond to their notes with sentence stems. You can grab a FREE set of 25 stems here.

The following pages are practice and examples that we do in class.
And then we start over with the next set of notes.
More Interactive Notebook Ideas
Interested in checking out my videos? Watch them here.
Save time and use my notes. I will be adding to this bundle as time goes on until it is the complete year. Click here to grab them.
Save time with Choice Board Templates that can be used as practice activities in your interactive notebook.
Learn more about Interactive Notebooks and how to get started by checking out Audrey’s posts. She uses them in Algebra 1 and has so many wonderful ideas that can be adapted for any grade level.


2 Responses
where can I get a template of the notebook divider pictured above? sized for a composition notebook?
I don’t currently have this available, but I will work on creating a template to share with you. If you will email me at elaina.elainaweaver.com I will make sure you know when it is ready to share.